

Building your own PC may seem like a daunting task at first glance, but in 2025, it’s more approachable, and cost effective, can be satisfying than ever when you’re finished building it. Whether you’re looking to jump into gaming, improve your productivity setup, or simply enjoy the process of assembling your own machine, this guide will walk you through every step from understanding each component to selecting the right parts, assembling them & optimizing your system.
the Real Advantages of Building your Own Pc from scratch
The benefits of building your own PC go beyond saving money. It gives you control over your choices. You decide what your machine is capable of, how it looks, and how it performs. You get better hardware for your budget compared to most pre build systems, and more importantly, you’ll gain valuable hands-on knowledge that makes future upgrades and troubleshooting much easier to handle.
Understanding the Key Components of your PC Build
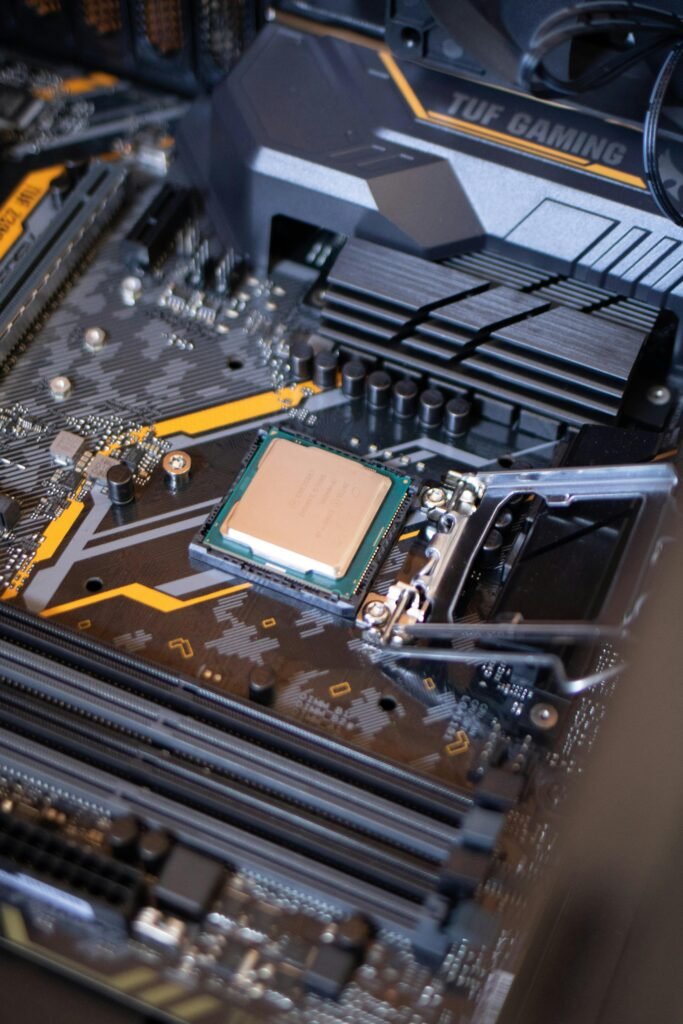
Before diving into the build process, it’s crucial to understand the key components that make up a desktop PC. The processor, (or CPU), is the heart of your system, handling most of the computational tasks. In 2025, beginner-friendly CPUs like the Intel Core i5-13400F and AMD Ryzen 5 7600 offer fantastic performance at reasonable prices. They’re ideal for gaming, content creation, and multitasking without even stretching your budget.
Choosing the Right Components for Preformance and Compatibility
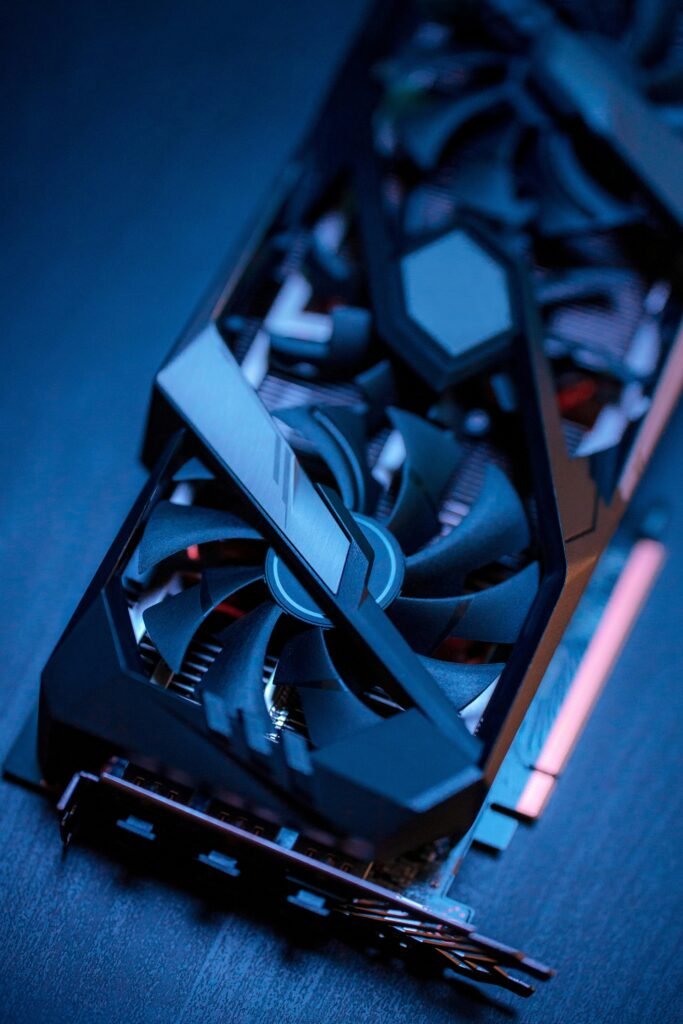
The GPU (graphics processing unit) is equally important, especially if you plan to game, stream, or edit video. Options like the AMD RX 6600 or NVIDIA RTX 4060 provide excellent performance for 1080p and even 1440p gaming, making them ideal entry points into PC gaming.
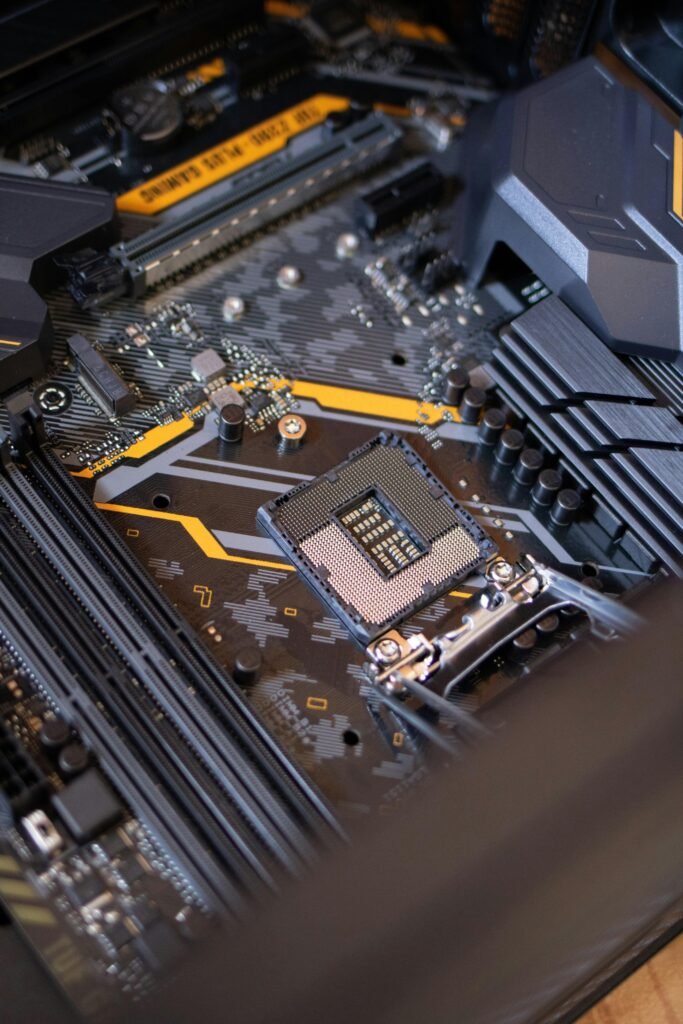
Next is the motherboard, the backbone that connects everything. It’s essential to choose one that’s compatible with your CPU — that means matching socket types and chip set families. For Intel builds, a B760 motherboard is a solid choice, while AMD users will do well with a B650 board. Make sure your board has the ports and features you need, such as M.2 slots, Wi-Fi, Bluetooth, or USB-C.
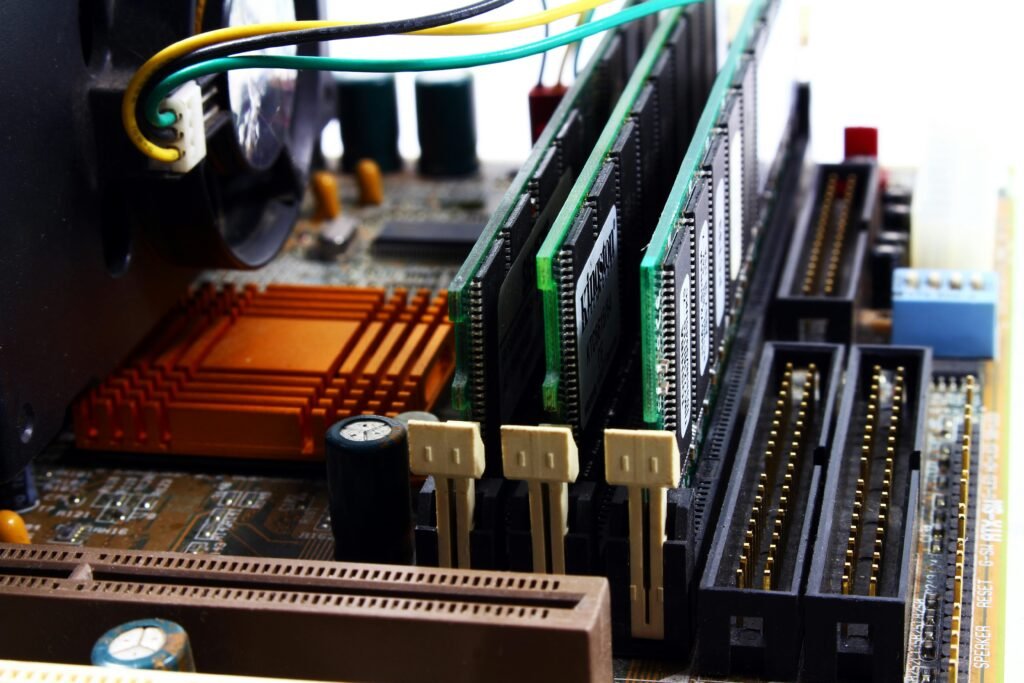
RAM, (or Random access memory), allows your PC to multitask smoothly. For most beginners, 16GB of DDR5 RAM is preferably running at 6000MHz or higher, is the new standard in 2025. This is more than enough for gaming, streaming, and everyday computing tasks.
Fast storage is now standard thanks to NVMe SSDs. A 1TB Gen 4 NVMe SSD is recommended for quick boot times, lightning-fast game loading, and overall responsiveness. Brands like Samsung, WD Black, and Crucial dominate the scene here with solid options across all price points.
Your power supply (PSU) is more important than you might think. A 600W 80+ Bronze certified unit from a reliable brand will offer both safety and efficiency. Don’t skimp here low-quality power supplies might fail and can damage other components.
When it comes to housing your components, a mid-tower ATX case like the NZXT H510 strikes a balance between size, airflow, and ease of building. Many modern cases also include cable management channels and built-in fans, which are especially helpful for first time builders.
a Beginner Friendly PC Build on a Budget
To make your life easier, here’s a beginner-friendly budget build you can assemble for around $750 to $800:
- CPU: Intel Core i5-13400F
- GPU: AMD RX 5500
- Motherboard: ASUS B760M
- RAM: 16GB DDR5 6000MHz
- Storage: 1TB NVMe SSD
- PSU: 600W 80+ Bronze
- Case: NZXT H51
How to Assemble your PC Step by Step
This build provides a solid foundation for gaming at 1080p with high settings, smooth multitasking, and snappy system responsiveness. It’s also easily up-gradable down the line adding more storage, RAM, or even a better GPU in a year or two won’t require a full rebuild.
To assemble your system, you won’t need much beyond a Phillips-head screwdriver, good lighting, and a clean workspace. While anti static wrist straps are nice to have, simply grounding yourself by touching a metal object (like your case or PSU) before handling components can go a long way in protecting your gear.
Start your build by prepping the case and installing the motherboard. Insert the CPU carefully into the socket, ensuring proper alignment, then add the RAM and NVMe SSD. Mount the motherboard into the case, install the power supply, and route all necessary cables. The GPU comes next, seating it firmly into the PCIe slot and securing it to the case.
Once everything is installed and connected, including all front panel cables and case fans, it’s time for the moment of truth: the first boot. Connect a monitor, plug in a keyboard, and power it on. If the system lights up and displays a screen, you’re on the right track.
Installing Windows is the final major step. Download Microsoft’s Media Creation Tool to create a bootable USB, plug it in, and follow the on-screen instructions to install the operating system. Even without a product key, you can run Windows with some cosmetic limitations until you’re ready to activate it.
After the OS is installed, your next steps are updating BIOS and drivers. Always download the latest drivers for your motherboard, GPU, and chipset to ensure maximum compatibility and performance. Additionally, go into your BIOS and enable XMP (for Intel) or DOCP (for AMD) to ensure your RAM runs at full speed.
Once everything is up and running, keep your system clean and up to date. Regularly dust your PC every few months using compressed air, keep your software patched, and monitor temperatures using free tools like HWMonitor or MSI Afterburner.
One of the best aspects of building your own PC is the ability to upgrade as your needs grow. Whether that’s adding more storage, swapping in a higher-end GPU, or jumping to a larger monitor, you have full control over your machine’s evolution.
Finally, don’t forget to take advantage of affiliate-friendly opportunities when sourcing your parts. Every component listed in this guide is available on Amazon, and using those links not only helps you find trusted products — it also supports the creators behind content like this at no extra cost to you.
If you’re ready to start building your dream PC, we’ve compiled all the recommended parts into a single, easy-to-shop list. Just click below and get started.
As an Amazon Associate, I earn from qualifying purchases .
this helps support the site at no extra cost to you.